
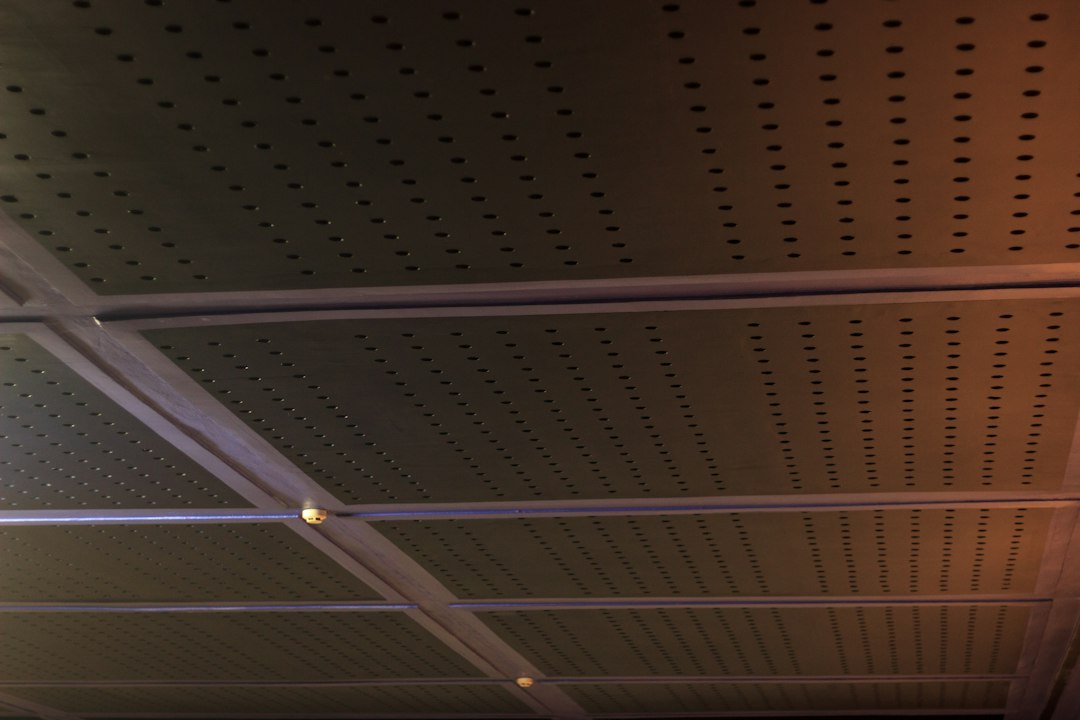
False ceilings have become a popular choice for modern interiors, offering both aesthetic appeal and functional benefits. They can enhance the acoustics of a room, provide insulation, and conceal unsightly wiring and ductwork. This guide will walk you through the step-by-step process of installing false ceilings, ensuring you achieve a professional finish that meets your design needs.
Understanding False Ceilings
False ceilings, also known as suspended ceilings, are secondary ceilings hung below the main ceiling structure. They are typically made from materials like gypsum board, mineral fiber, or metal tiles. The primary purpose of a false ceiling is to improve the room’s acoustics, reduce noise levels, and provide a clean, finished look. Additionally, they can be designed to accommodate lighting fixtures, air conditioning vents, and other utilities, making them a versatile choice for both residential and commercial spaces.
According to recent market research, the global false ceiling market is expected to reach $12 billion by 2025, reflecting a growing trend in interior design. This growth is driven by the increasing demand for aesthetic and functional ceiling solutions in urban areas. Key Insight: As more homeowners and businesses recognize the benefits of false ceilings, investing in quality installation services becomes essential for achieving desired outcomes.
Planning Your Installation
Before beginning the installation process, careful planning is crucial. Start by measuring the dimensions of the room and determining the height at which you want to install the false ceiling. Consider the type of materials you want to use, as this will affect both the aesthetic and acoustic properties of the ceiling. It’s also important to plan for any lighting or ventilation needs, ensuring that your design accommodates these elements seamlessly.
Creating a detailed layout will help you visualize the final look and ensure that all components fit together correctly. Use graph paper or design software to sketch your ceiling design, including the placement of panels and fixtures. This step not only aids in the installation process but also helps in identifying any potential issues before you begin.
Gathering Materials and Tools
Once you have a clear plan, it’s time to gather the necessary materials and tools for the installation. Common materials include ceiling tiles, metal grid systems, and insulation. Depending on your design, you may also need additional items like adhesive, screws, and lighting fixtures. Ensure that all materials meet safety standards, especially if you are considering fire-resistant options.
In terms of tools, you will typically need a measuring tape, level, utility knife, drill, and safety gear such as goggles and gloves. Having all your tools and materials ready before starting will streamline the installation process and minimize interruptions.
Installation Process
The installation of a false ceiling involves several key steps. Begin by marking the desired height of the ceiling on the walls using a level. Next, install the perimeter channel, which will serve as the support for the ceiling grid. Once the perimeter is in place, you can install the main runners and cross tees, creating a grid system that will hold the ceiling panels.
After the grid is set up, carefully cut and fit the ceiling tiles into the grid. Ensure that each tile is securely in place and that there are no gaps. If you are incorporating lighting fixtures, this is the time to install them, ensuring that all electrical work is done safely and according to local codes. Finally, inspect your work for any imperfections and make adjustments as necessary.
Finishing Touches and Maintenance
Once the false ceiling is installed, consider adding decorative elements to enhance its appearance. This could include crown molding, paint, or even integrated lighting solutions that highlight the ceiling’s design. These finishing touches can significantly elevate the overall look of the room, making it more inviting and stylish.
Maintaining your false ceiling is essential for longevity and performance. Regularly check for any signs of damage, such as water stains or sagging panels, and address these issues promptly. Cleaning the ceiling periodically will also help maintain its appearance and functionality, ensuring that it continues to enhance your space for years to come.